This is tutorial to deploy Nuxt 3 app on Cyberpanel including OpenLiteSpeed configuration. More or less the step is same like my other article Deploy Sveltekit.
1. Make A Website
Go to Cyberpanel, click on navigation Websites -> Create website. For a demo, just use any domain name.

After finish created, it will show on Websites ->List Websites, click on manage.

Click on preview, and remember the website base URL.


Just leave it that way, lets move to next step.
2. Nuxt 3 Local Source
In local computer, try to create new Nuxt app, mine was Nuxt 3.5.2. For reference to get started: https://nuxt.com/

After install finish, enter npm run build.

After build finish, at default it will create .output folder and lets zip all files inside that folder.

3. Upload, Extract and Install
Go to File Manager website

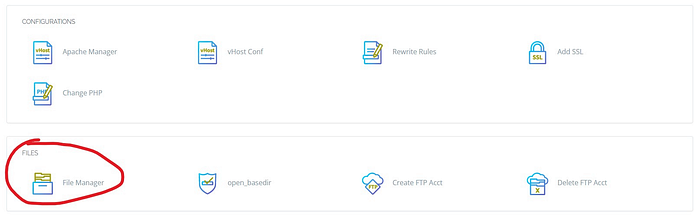
Browse to ‘public_html’, upload the ZIP file then extract it.

Back to local computer, open a command prompt, since I use Windows 10, it already include SSH.
Before go further make sure NodeJS is already installed on Ubuntu 22.04. This article can be used as reference: https://www.digitalocean.com/community/tutorials/how-to-install-node-js-on-ubuntu-22-04.
Login to your root via SSH, then go to home directory of website just-for-test.com and enter HOST=127.0.0.1 PORT=5005 node server/index.mjs.

Keep the command prompt open.
4. LiteSpeed WebAdmin Configuration
This is for make server listen to Nuxt 3 running apps port. Lets login to OpenLiteSpeed webadmin.
Just in case, how to login to LiteSpeed panel, a reference: https://community.cyberpanel.net/t/tutorial-how-to-setup-and-login-to-openlitespeed-webadmin-console/14052

After login, go to Virtual Hosts
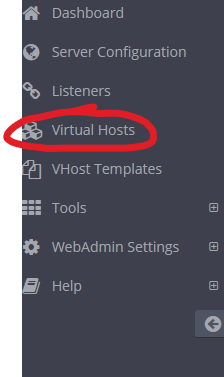
Open virtual host just-for-test.com

Click ‘External App’ tab, on far right, click ‘+’

Create External App, type Web Server, then click next.

Fill every required input, the most important is ‘Address’, the value should be the same with Nuxt app that running on Ubuntu, thats where LiteSpeed listen to Nuxt 3 app. Don’t forget to save it.

External App just created, for now ignore the warning notification.

Go to Context, click ‘Context’ tab.

This process also known as proxy, its same like Apache / Nginx proxy. Create New Context type Proxy, then click next.

Fill the required input, URI ‘/’ and choose Web Server that created before, then save it.

See the Context List, it just make new type proxy. Click icon restart to see the result.


Go to your site preview and Nuxt 3 app is running.

For make it work properly change the domain with real active domain. Perhaps this deployment process also can be used for Next JS.